

The Sweet Layers of Tradition: Exploring the Honey Multi-Layered Ukrainian Cake.
While I may not like complicated and time-consuming recipes, I still love to cook often. The key for me is to find a balance between enjoying the cooking process and not spending endless hours in the kitchen. It’s always helpful to have a knowledge base of recipes that can be quickly whipped up, especially when I crave something specific that’s hard to find in the country where I currently live. One such example is the Honey Cake, which is relatively easy to find in Ukraine but not so much elsewhere.

So, how do you solve this issue? The answer is simple: bake it yourself! Although making a Honey Cake does take some time, it’s still manageable compared to other desserts from my childhood, like Napoleon. Plus, it’s worth every minute for the taste and nostalgia it brings. I’ve even tweaked the recipe to suit my preferences, using spelt flour, cane sugar, and cream cheese instead of the usual sour cream or custard. This version keeps it simple yet delicious.

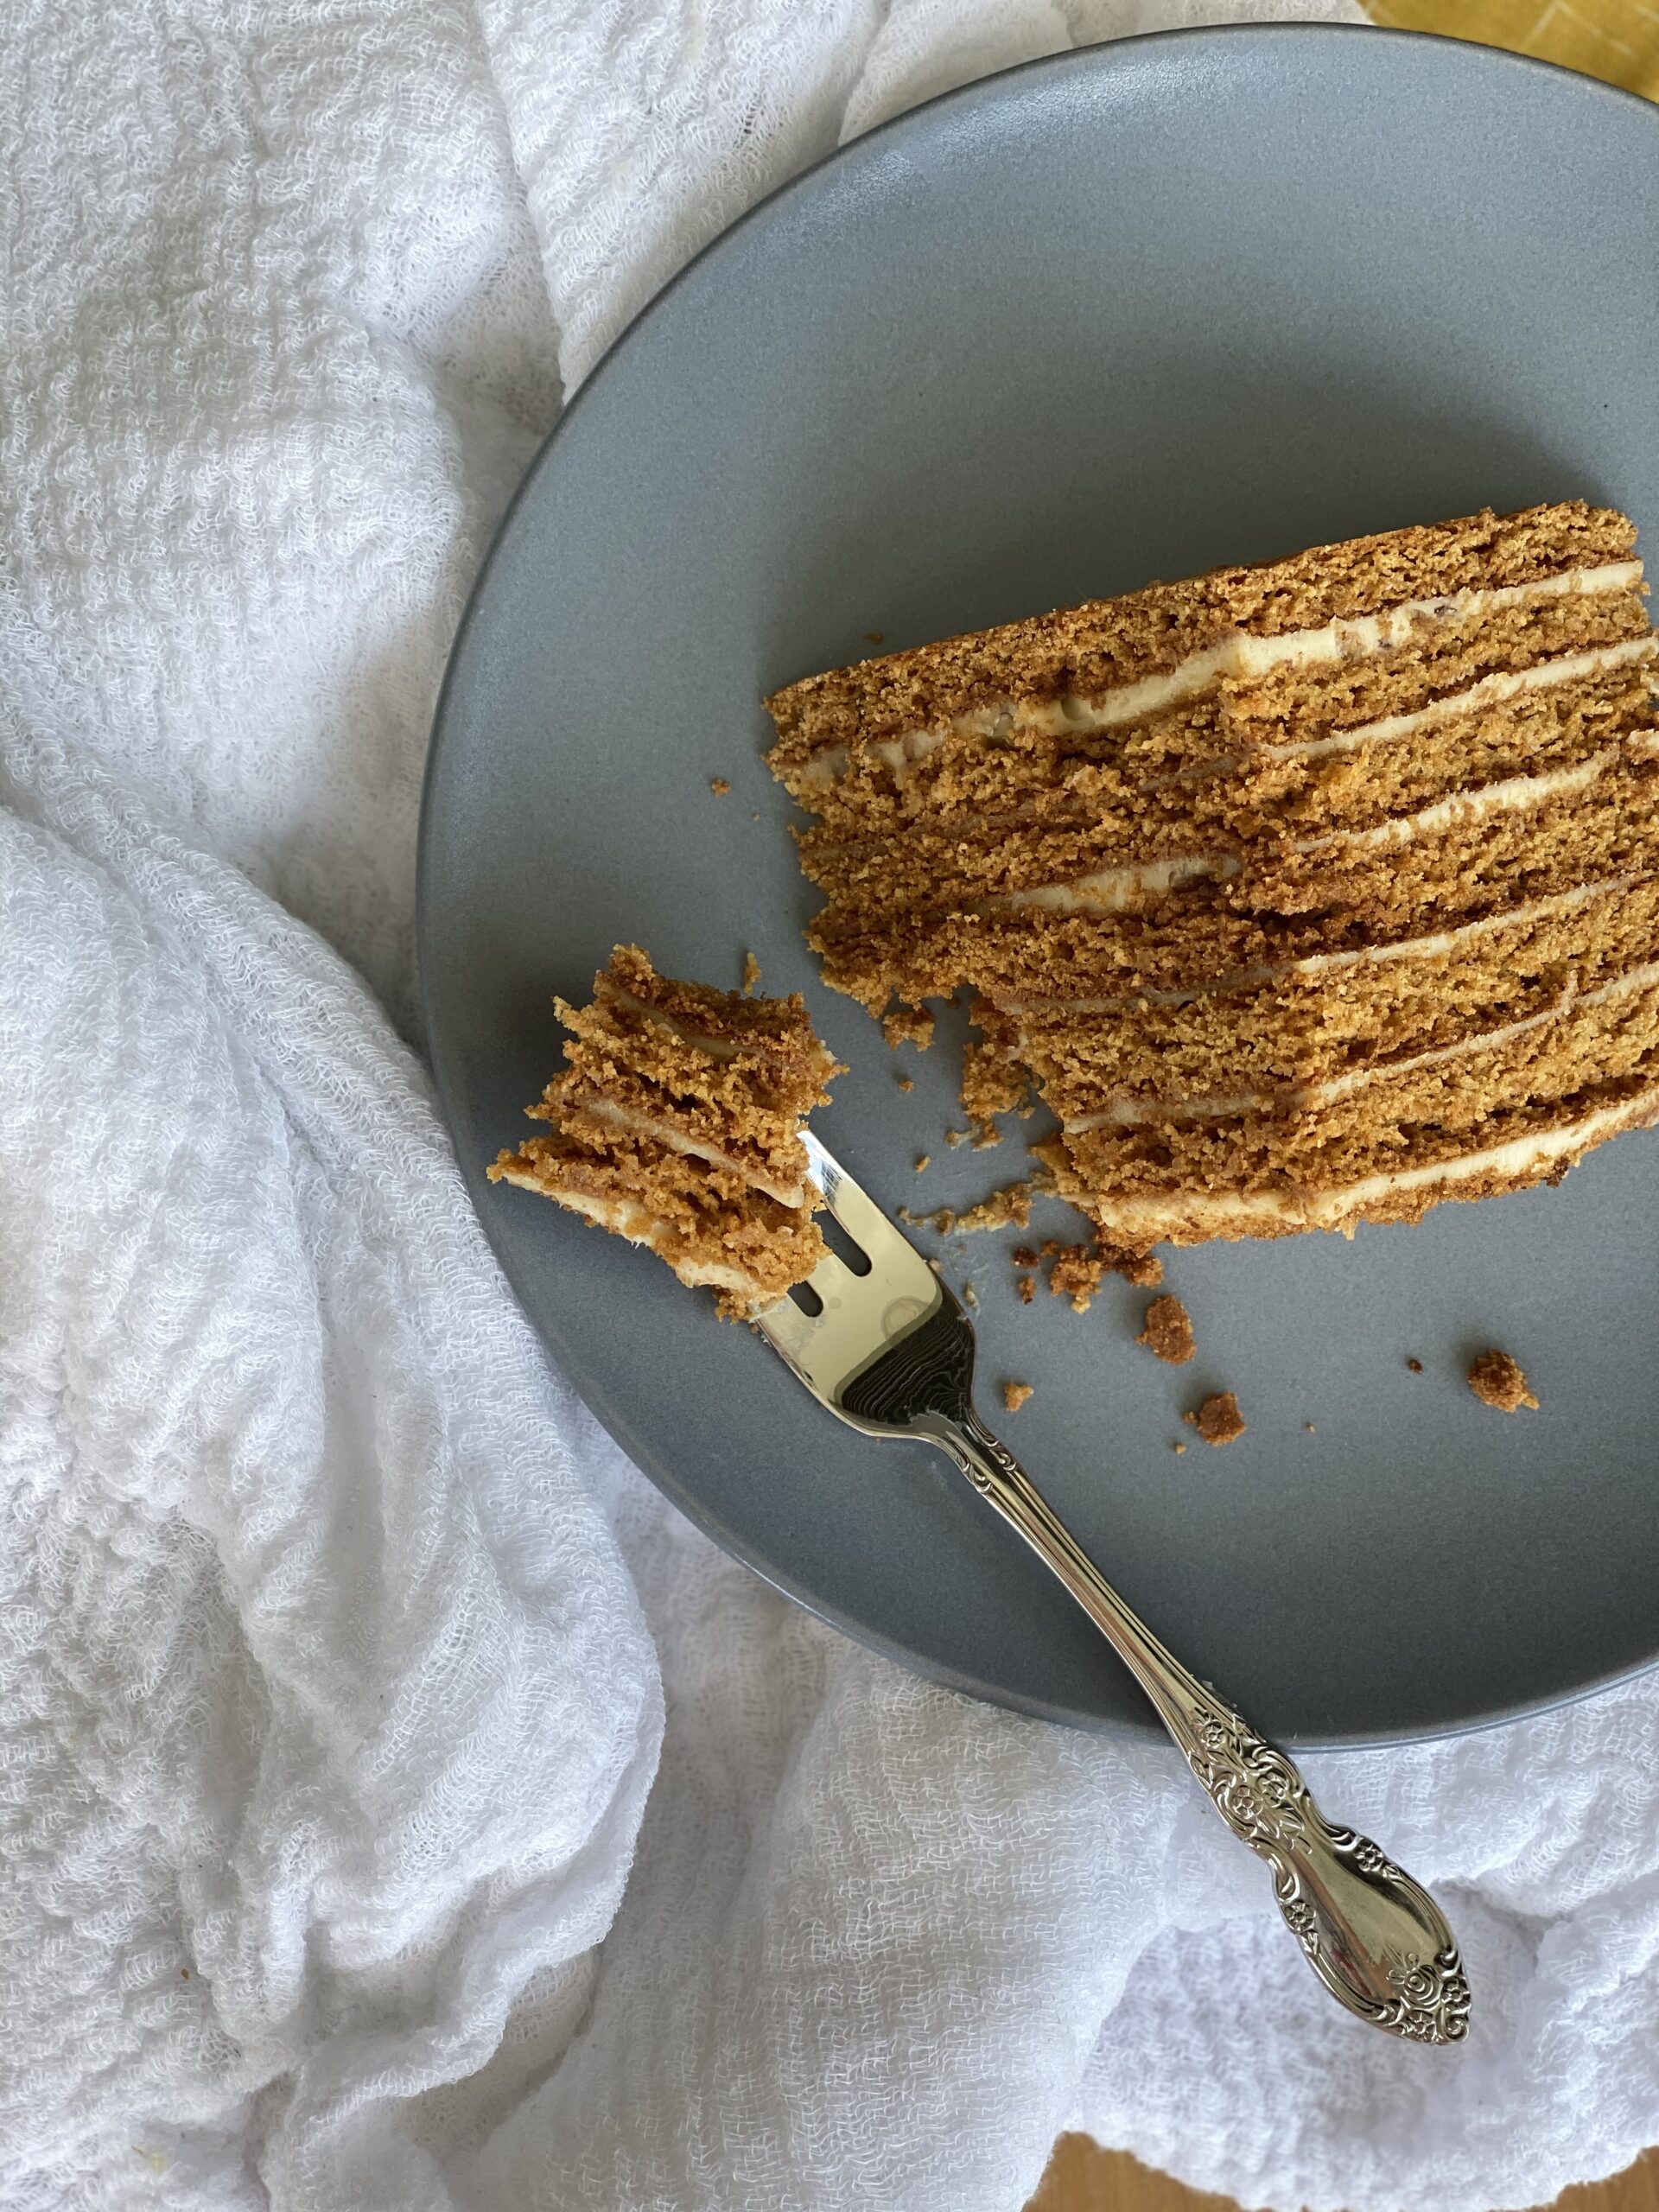
Regarding traditional Ukrainian desserts, the honey multi-layered cake, often called Medovik, stands out as a beloved classic with delighted taste buds for generations. This exquisite cake is a feast for the senses and a slice of history, rich with cultural significance and heartwarming stories.
Medovik, which means ‘honey cake,’ is appropriately named for its star ingredient—honey. The cake is a symphony of multiple thin layers of honey-kissed dough, each lovingly baked to a golden hue and generously coated with a luscious, sweet filling. The result is a delightful medley of flavors and textures, with the honey adding a delicate sweetness that is perfectly complemented by the creamy layers. One of the cake’s most enchanting qualities is how it matures over time, with the layers fusing together to create a heavenly, melt-in-your-mouth sensation.
Medovik has a rich history of finding its way into the hearts and homes of countless families across Ukraine and Eastern Europe. It is a staple at special occasions, from weddings and birthdays to festive holidays, symbolizing sweetness and togetherness. Each family may have its unique twist on the recipe, handed down through the generations, adding a personal touch to this timeless dessert. Whether savored with a cup of tea or as the crowning glory of a celebratory feast, the honey multi-layered cake is a cherished part of Ukrainian culinary heritage, evoking joy and tradition at every gathering.
If you’re feeling nostalgic for your Soviet or post-Soviet childhood, try this Honey Cake recipe—no less than if you have never tasted it in your life! I promise you won’t regret it! It’s worth a try!
It pairs wonderfully with mint, linden, or other herbal tea, making it a perfect treat for any occasion. Enjoy the process and the delightful result!
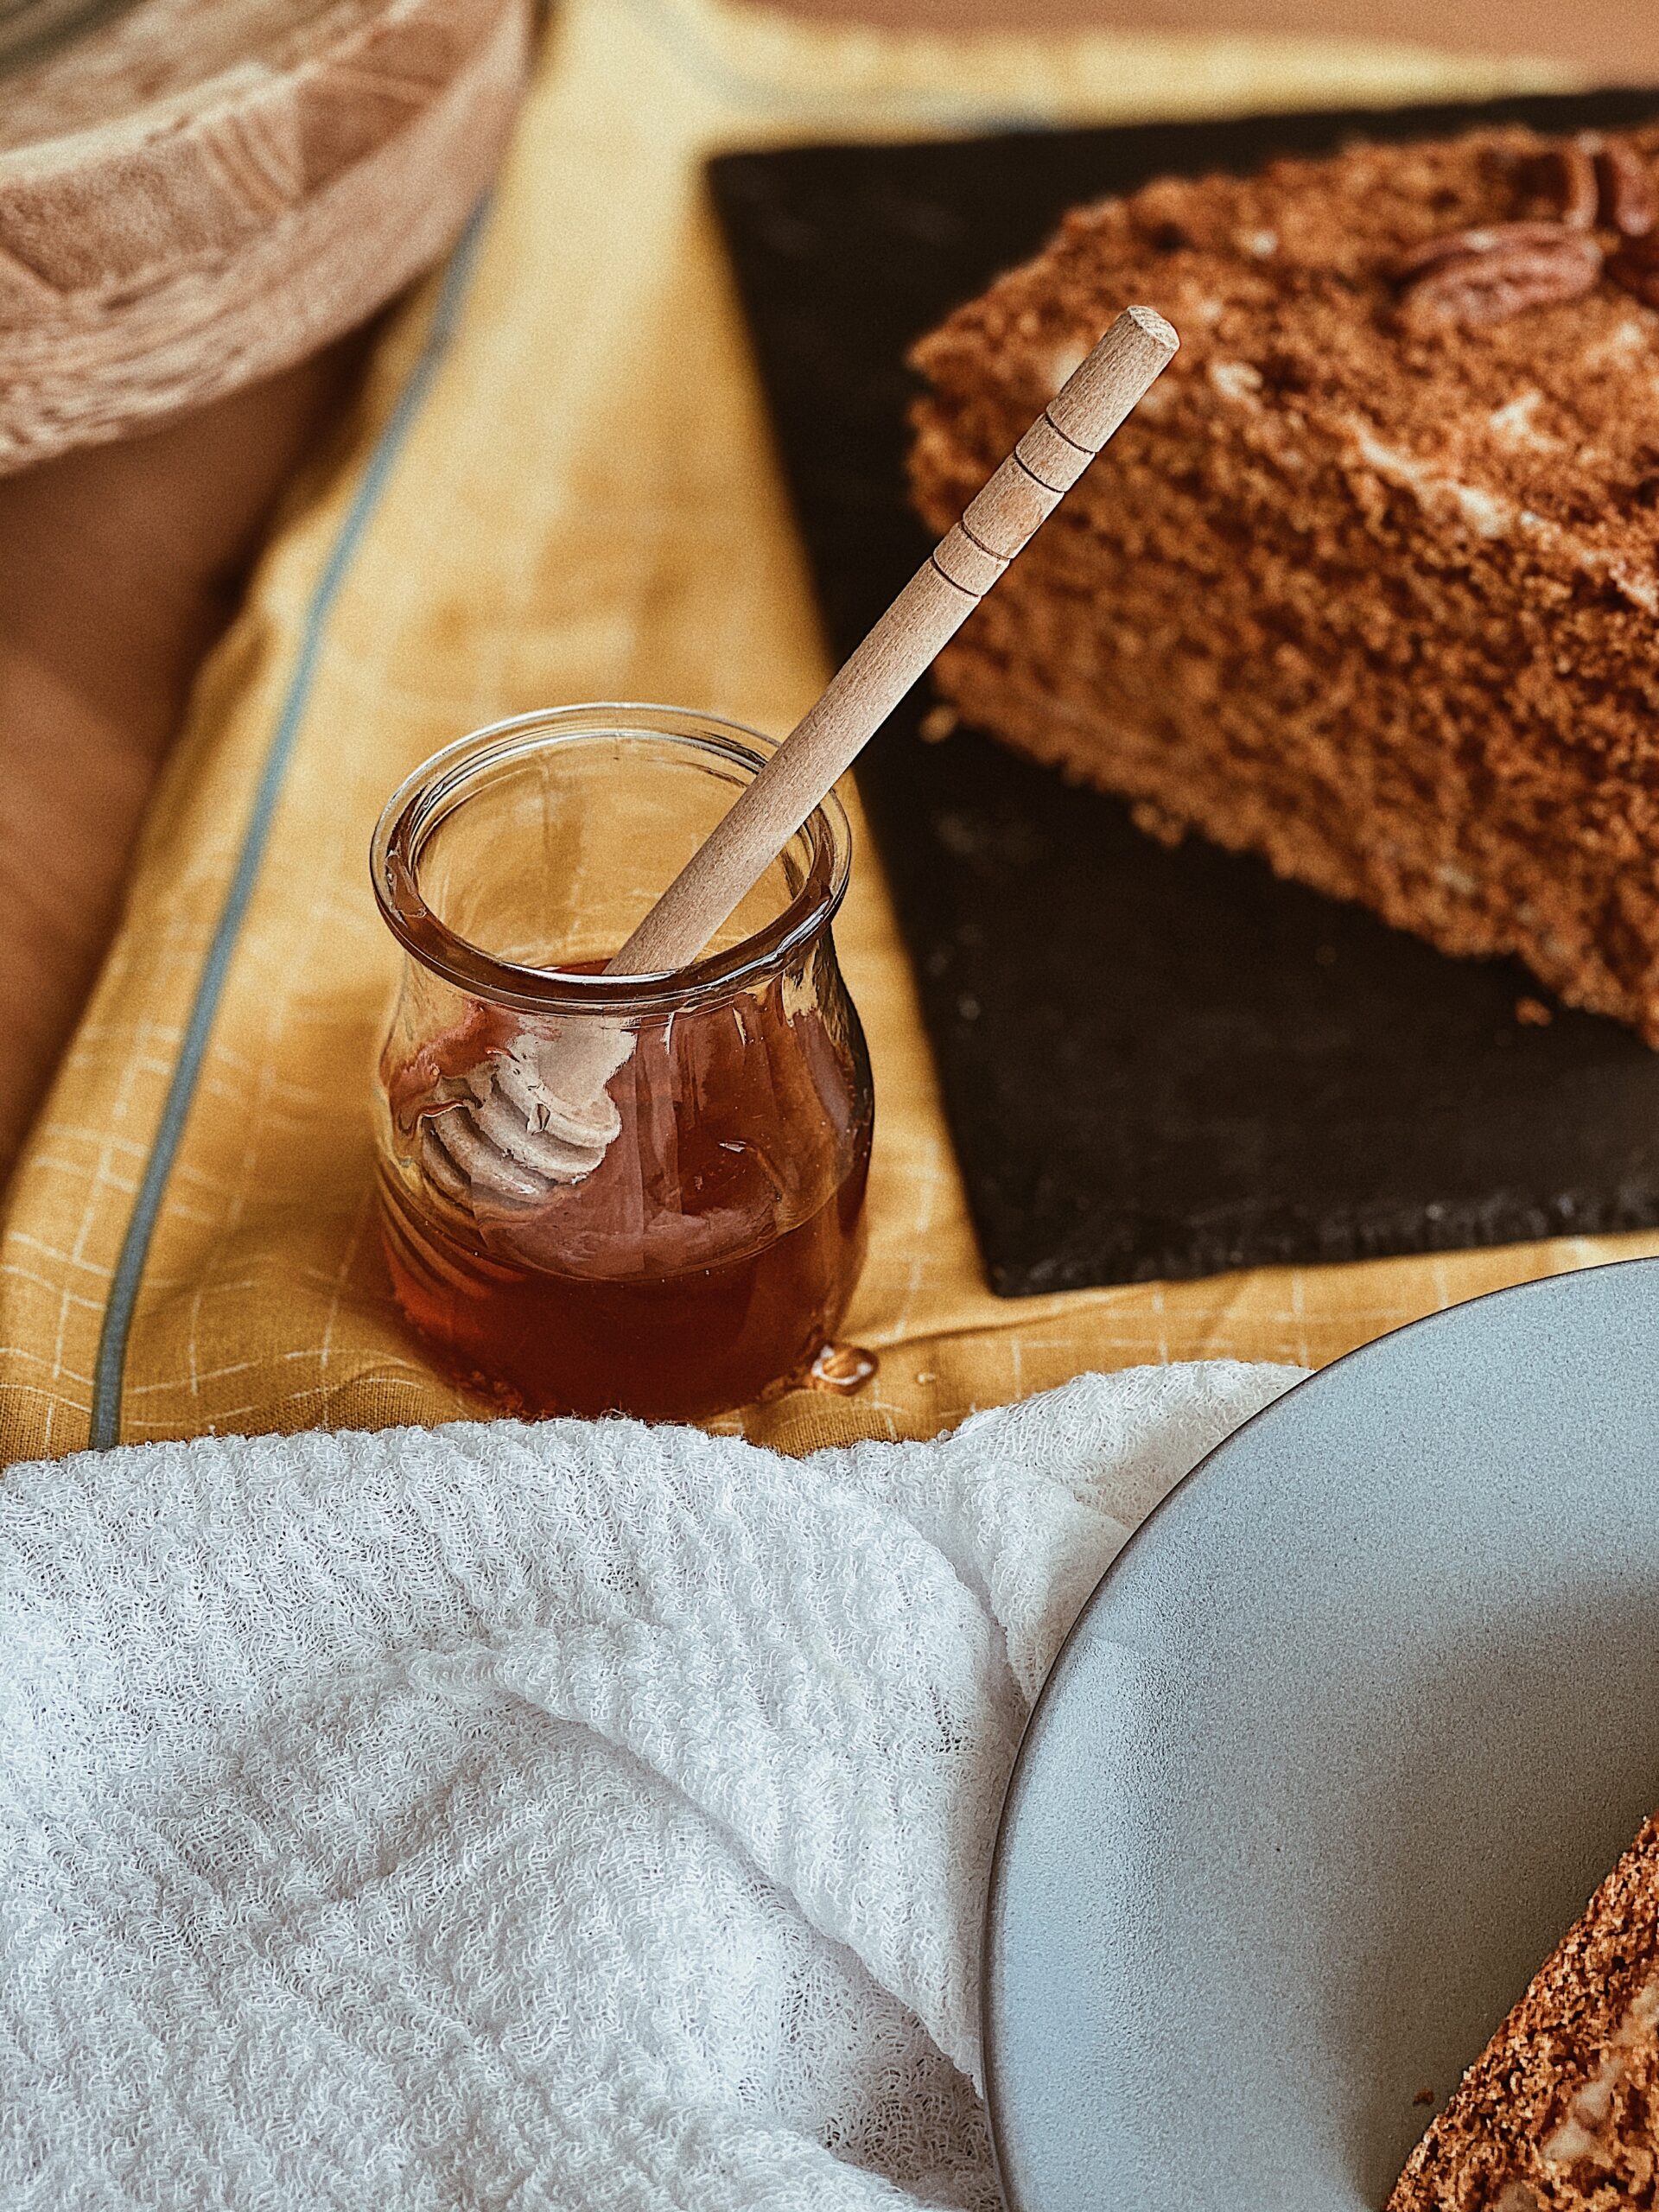
For this cake, I recommend my favorite honey in the USA – The North Port Apiary’s Honey. I have known the owner for decades; he has been a beekeeper for several generations and transfers true Ukrainian love, passion, and traditions to his honey, naturally made in Florida.
There are no other ingredients (sugar, syrup, pesticides, etc.)!
Also, try their honeycombs! They are rock! That’s my favorite sweet from childhood, and I’m sharing it with you!
The Recipe is down below!

Ingredients
DOUGH
- 1 cup (125 g) Butter (melted)
- 1 ¼ cup (250 g) Sugar (cane)
- 3 tbsp Honey (The North Port Apiary’s Honey is the best)
- 2 large eggs
- 1 tsp Baking Soda
- 8 cup (875 – 1000 g) All-Purpose Flour or Spelt
- ¼ tsp Salt
CREAM
- 2 ½ - 3 cup (600 – 700 g) Cream Cheese (room temperature)
- ½ cup (100 g) Sugar Powder
Instructions
- Preheat the oven to 400 degrees of Fahrenheit (200 of Celsius)
- In a large bowl, mix melted butter, sugar, and honey until all dissolved.
- Add baking soda to the mixture and combine. The mass will begin to increase, and the bubble will be white.
- Stir in the eggs and mix well.
- Add flour in portions and knead the dough. It's okay if it's a little sticky, but if it's too much, add more flour until the dough is like playdough. Form a layer of dough, divide it into 8-10 equal pieces (if you have a scale - measure the same weight), and roll each one between two sheets of parchment very thinly! You can make it round or square (by using a knife) or use any other special shape/cutter. That is up to you! Remove one sheet of parchment, pierce the cake evenly with a fork in several places, and transfer it to the baking sheet with the bottom sheet of parchment.
- Bake for about 7-10 minutes (every oven works differently, so watch when the cake starts to brown more on the edges, then it's done!). We remove each layer with the parchment and MUST put it on a flat surface. Thus, each layer will lie on the previous one.
- Meanwhile, prepare the cream. Beat cream cheese and powdered sugar well with a mixer for 2-3 min on medium speed (do not overmix it!).
- When all the layers of our future cake have chilled enough, choose a plate that is suitable in size and shape and put a little cream in the center (this will work as a foundation for the cake, and it will not move). Next, we lay out the first layer, generously grease the top with cream, and repeat this with each other. There should be cream on top and the sides. You can decorate the cake as you want. I usually use scraps of dough (baked), turning them into crumbs and covering the sides and top of the cake, or/and some nuts.
- Refrigerate the cake for at least 4-6 hours (overnight is optimal) and enjoy this honey cloud with your favorite hot drink—coffee or herbal/Moroccan mint tea is my recommendation.
Notes
The secret of this cake is as long it stays in a fridge as yummier it becomes!
The layers are infused and sufficiently soaked with cream and, all together, create incredible taste impressions!
